
The powder room when we first moved in was bright yellow... and Ugly.
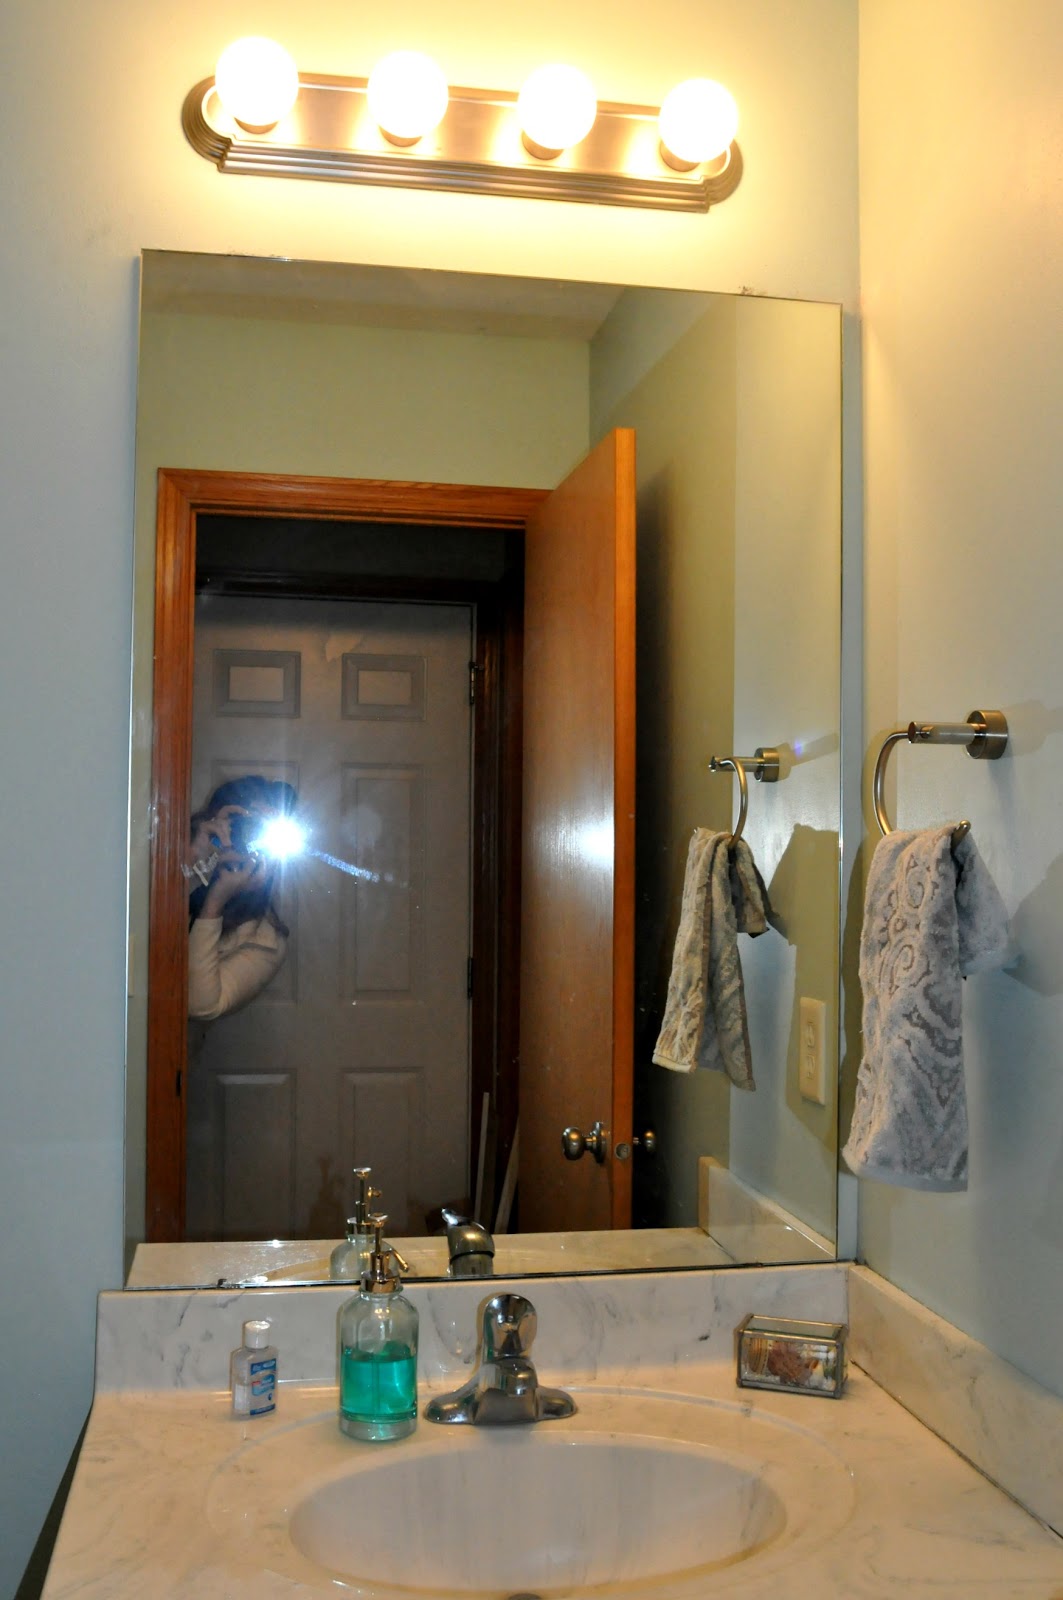
Once we finish a few more updates I will show you the before photo from where we first started and where she is at now. But right now... I am going to show you the difference framing out the bathroom mirror makes.
I was inspired by this post found HERE
We cut the crown molding at 45 degree angle....
Used Liquid nails and placed it on top of the mirror.
After it set... we caulked the seams... and added a coat of white paint.
Easy Peasy :)
And it looks 1000 times better!
What do you think????

We have a few things we still want to do in here.
change out the light fixture
update the faucet
eventually replace that ugly marble.... gross.
and paint the trim white.
But this tiny room has come a long way.
More updates soon :)


Linked up at Fugalicious Friday


Love it!!! We need to do this in two bathrooms. Did your mirror have the clips or was the mirror glued to the wall? Ours has clips so I'm trying to figure out how to get the molding to sit flat. It really looks awesome though. Great job!
ReplyDeletelooks great, I did the same thing to my bathroom
ReplyDeleteI want to do this to my bathroom but the mirror appears to be glued to the wall and it touches the backsplash. Did you find some way to secure the molding directly to the mirror? I'd really like to know how you did this. Thanks.
ReplyDelete