We finally started Maddux's room. Key word = Finally. We have been planning to start it all summer. Now it's August... and we finally got the ball rolling.
We decided to redo his room in a way that suits him. Rather than keep the Star Wars theme, we wanted to fill the room with all things that are him. So this means... Star Wars, Super heroes, Legos, Make Believe, and ART. He loves making artwork, and he loves showing it off.
So we decided to give him an art station in order to just do that.
The desk was originally our sofa table, but we decided we needed more storage down there to hide Madddux's toys that get thrown about, so we moved this upstairs and it worked perfectly. It gives him a lot of room to sprawl out lots of paper (which he loves!)
and a new sofa table project for the living room (which I love!)
We put some plywood up on the wall so that the pins wouldn't go through to the wall, then used spray adhesive to attach the cork board to the plywood. Then took some molding and framed it out to create a giant cork board. Since.Since we cut the cork board there was a seam down the middle that we weren't very excited about so we took a 1x3 and covered that up. Then we took a small piece of string and hung some Instagram photos across the top! And now he has another place to show off his creativity!
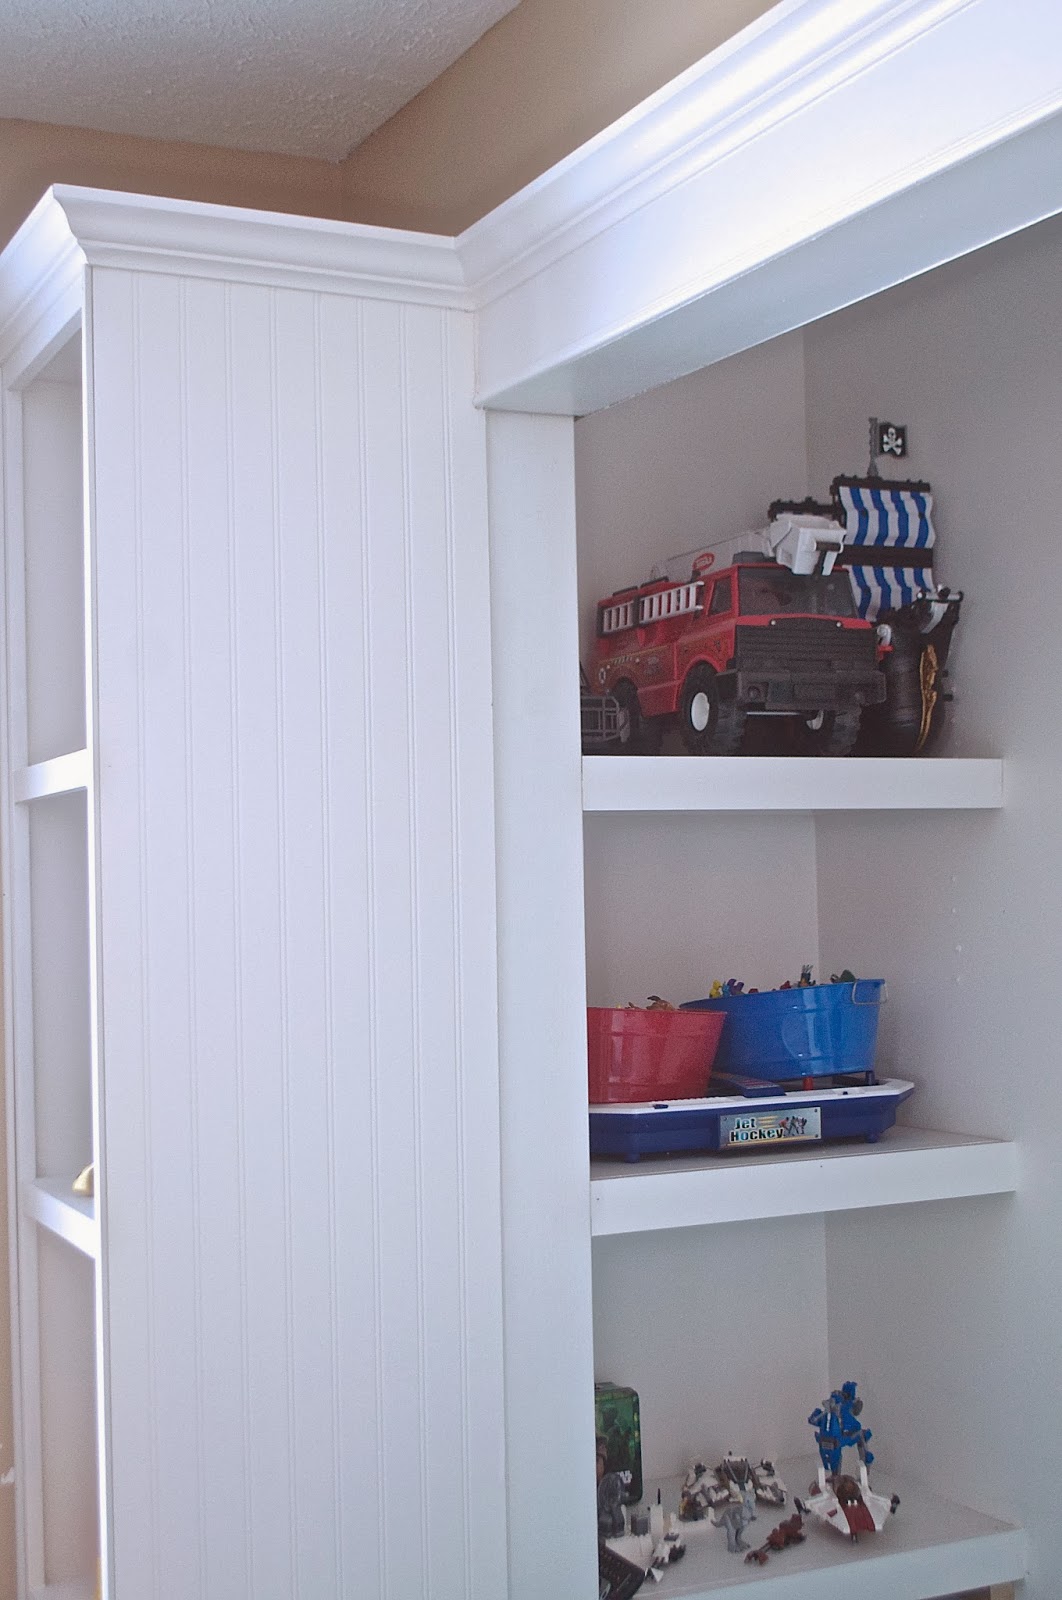
First corner of the new big boy bedroom... Complete!
Showing posts with label Kids stuff. Show all posts
Wednesday, August 6, 2014
Friday, April 25, 2014
Playroom Final Reveal
We finished the playroom just in time for the home tour....
We might make a few tweaks here and there but for the most part... this room is D.O.N.E.
Thursday, February 20, 2014
Playroom updates
And today I am sharing the opposite wall from the built in sofa nook
We took an old Ikea bookshelf we have had forever... painted it a bright yellow... and then DIY'ed some crates from leftover wood that is currently filling our garage. so much that we can't put our cars in there. anyone want some scrap wood??? takers???
laminate furniture is hard to paint. It is something I still struggle with.
I used oil based primer on this bookshelf and then about 10 coats of yellow.
and I'm still not sure how it is going to hold up.
But we will see.
I might decide to go ahead and poly it and see how that goes.
But for now, it is what it is. It looks good. But I have always had bad luck with painting laminate so I am skeptical.
As said, we built the crates out of scrap wood. They are built out of 1x3s and then we just attached 2x4s, 2x8s, or whatever we had in the garage across the bottom.
They are literally scrap wood crates.
I stained them all with Minwax Dark walnut.
And then added in colorful diagonal stripes in different colors.... and different designs.
I wanted a fun way to bring in a little bit of color. But I didn't want to try and measure and get them exactly the same... so I thought I would just go with making them all different.
I ended up loving how they turned out.
It's always nice when a... here goes nothing decision works out.
Because most of the time it doesn't.
Well at least for me.
This side still has a ways to go.
I plan on adding a gallery wall around this TV stand... and again you can see some patch up marks on the walls that need to get painted this weekend
But here is the new entertainment center as is at the moment.
With scrap wood rainbow crates and all.
As you can see in the photos... lots of touch up paint needed.
And I already have a collection of prints, canvases, and frames to create that gallery wall.
Off to Ikea this weekend to get a few more so that I can finish it off! :)
If you missed it... on Wednesday I shared our closet nook we built in the playroom. You can find that post here
I am hoping to tackle the gallery wall this week, so I can share it with you next week.
A few things left to do in this room
1. TV gallery wall
2. Instagram collage wall next to window.
3. Pillows in the sofa nook
4. floor pillows for under the tent.
5. Touch up the walls!
And that's it. Then this room will be FINISHED!
Wednesday, February 19, 2014
And the built in is done
Well I was going to wait to share the room at once. But then I put off going to Ikea for 2 weeks and I really don't have any back up posts.
So on account of my laziness and poor planning.
Today I am sharing the finished closet turned sofa nook!
We primed. caulked. and painted.
This thing is D.O.N.E
Prepare yourself for a ridiculous amount of photos
All we did was build in two simple bookcases on each side of the closet. Then we created a platform bed that was a little larger than a twin mattress to fit inside the closet opening. Since we were building out from the closet we added shelves on the inside also for more toy storage. To build these shelves we used the well known method of screwing 1x2's into studs in the walls. and cutting out the shelf frame and nailing those into those 1x2s.
After that we created a foot board with the extra space on our platform to give the built in a more uniformed look. so that it would kind of conceal the mattress. We tied all of this together at the top with a header where the crown moulding matched up with the bookshelves.
And to be 100% honest we used beadboards on the sides of the bookshelves because we made a few mistakes that would have been hard to cover up... so instead of trying to sand them out we just covered it up with a beadboard panel.
Now for the engineer print. This was really simple. We took 4 boards. and created a very generic frame. A frame that is 100% empty in the middle. Shown here (sorry for the crooked photo)
Then we took a poster sized frame that we bought at Wal-Mart for 10 dollars.
And placed this on top.
And voila.
a statement piece on that wall. for under 20 bucks total.
Next up. finish the gallery wall around our TV. Create an instagram gallery wall.
Find some throw pillows for the sofa nook.
You can see where we have a few holes to patch up around the built in also.
And then see where we are at.
But this room is coming along.
And such a change from what we had before
It feel so much better to have this built and done and the sawdust cleaned up!
Linked up at Blissfully Ever After and Liz Marie Blog
Thursday, January 23, 2014
Playroom Begins...
So.. we decided to change up the playroom. No matter what it was always a mess... we did not have enough storage. My child loves action figures. Loves them. They are small and they are EVERYWHERE.
I have found that starting a blog... people are supportive and encouraging.. and just down right nice sometimes. People I do not know... or people I barely know.. and they are supportive with emails. This blog has been such a great experience in that department. Making connections with people I would not have... people I would have never had the chance to get to know. I am so grateful for that experience with this blog.
I have also found though this blog brings the other side of the spectrum. People who want to tell me how much they dislike white trim, painted furniture, find it tacky to have so many mirrors in a house, etc.. etc. And I get that. Some people don't like white.. some people are afraid of it and think it will look dirty. But i have found it works the opposite. its easier to clean.. and looks brighter... I have not had any issues with it. I need to see the dirt though... so that way I do wipe down furniture. Otherwise I probably never would... because if something is not in my face... I tend to forget :) So I like white... white built ins and white trim. But I also understand that it is not for everyone.. and that is okay.
Sometimes I am guilty at letting other people's opinions affect my choices and I begin 2nd guessing myself. And I end up going with something else and regretting it. Pinterest is a great source of inspiration... but sometimes we go with something we like in someone else's home and it doesn't work for us. So for me... it is important to figure out if it will be beneficial in our home. I realize that organization and storage is key... when your home is filled with toys. And having toy storage in every single room is essential. Even in the kitchen... I need storage in the kitchen. because somehow... legos end up in my kitchen... and action figures... and various weapons.
So lets get back to the point. eh?
Well this playroom stopped working for us. It became a nightmare for me... toys all over.. always a mess... and well it was just not what I had in mind. So we started talking about what the playroom was lacking... and the main issue was storage. So we decided rather than having the built in media center we would switch it up and build a sofa nook for us to hang out in and put the media console on the other side of the room, which would give us a lot more storage.
Here is what the closet looked like currently. We had some storage, but the shelves weren't very deep and there wasn't any hidden out of sight areas. These bookshelves in the closet were the only storage we had in the entire room.
So we actually started on this are last Sunday... and after a week of planning, building, priming, and painting. We had the bases of the look we are going for.
So here is what we have done. We built a base for a twin mattress to lay inside the closet. After that we built two bookcases to go in line with the bed. Then on the insides of the closet we put in shelves for some hidden storage. We primed the back wall to go over the navy paint and we started priming the bookcases and the bed. So I am going to share a very very rough draft of what we have going on to show you a week's worth of progress Sunday thru Friday night.
That bottom shelf will be boxed in and act more like a side table to hold drinks and popcorn and whatever else lands there. But I am hoping to stack some toys up there on the higher shelves that don't get played with as much.
So right now it is looking a little rough... but I am very excited about the way it is turning out. I am hoping to convince Jerry to try arches for the first time to go on the tops of the bookcases and the top of the closet entry... but we will see if he goes for it or not. I will have to be VERY convincing.
A little peak at the other side of the room (Don't mind all that dust from the building going on all around it) We are adding in a BRIGHT entertainment center. Hoping to add some more color to this room!
So the whole point in this post... is its okay to do a room and completely change your mind. It's even okay to do something... live with it for a while... and decide it doesn't work. I always try and use the stuff I am changing somewhere else. Most of the time I can find a better place for it. Your home works best if it is built around what your family uses... and as kids get older that will change. So I figure this is the 2nd time we will change this room, but I expect we will be changing it several times throughout the years. And its okay if other people don't like it. Go with your instincts and what you like. Its easy to get caught up in whats popular... but it is more important to stay true to yourself. Stick to what you like... You will be happiest in your home if it reflects who your family is.
I love surrounding myself with beautiful memories... caught in photos, souvenirs, Maddux's artwork, our favorite books, and pieces of furniture that tell a story.
What do you love to surround yourself with?
Do you find yourself redoing a room because it doesn't work how you thought it would. sometimes... it doesn't work out.. but its more important that we are happy :)
Tuesday, November 5, 2013
Halloween Photos in November
If you follow me on facebook or Instagram you already saw that my son went as Snake Eyes for Halloween. This year he was dead set on being a ninja. I still cannot figure out why. We don't watch any ninja cartoons... he doesn't play with ninjas... so somewhere along the line... someone stole his heart with this idea of a ninja. So I tried and tried to convince him to be a ninja turtle. because it was adorable. But nope. I was not winning. My child is stubborn. So Stubborn.
Luckily... he made a pretty cute Snake eyes too :)
So here he is in all his Halloween Glory. And a random photo dump (He loves posing for photos in his costume! )
Snake Eyes. Aka. Maddux.
My kid is seriously awesome.
Cracks me up with his Ninja Posing :)
Hope you all had a safe and warm Halloween!!
Luckily... he made a pretty cute Snake eyes too :)
So here he is in all his Halloween Glory. And a random photo dump (He loves posing for photos in his costume! )
Snake Eyes. Aka. Maddux.
My kid is seriously awesome.
Cracks me up with his Ninja Posing :)
Hope you all had a safe and warm Halloween!!
Wednesday, September 18, 2013
Playroom Inspiration
We have been going back and forth on Maddux's birthday gift this year. His birthday falls a couple weeks before Christmas so he gets an insane amount of toys within a 14 day span.
So after talking it over we came up with redoing his playroom for him... and making it an awesome fun space he will love.
We are planning on starting this project in November... so right now just collecting ideas on what we might want to do.
We have a window in the middle of the wall like this below. and we are thinking about building in a seating area. something deep enough though to mimic a twin bed. so that way we can throw a mattress up there for if we ever need an extra bed.
However rather than going with white (I still might go with white) But I have been toying around with the idea of doing colored furniture with white walls. Something like this... maybe?
And then adding a loft area inside the closet with some shelves to store some toys/books/and what not.
I always like to incorporate photos as much as I can... here are a few looks I am loving
And I love the idea of a media center with so much storage.
So those are a few ideas we are kicking around. we want to create a unique space he will love to play in. but also somewhere we can hang out with him.
I am definitely wanting to do the closet loft. how cute is that?
Subscribe to:
Posts (Atom)


